
Iron Nest Tips and Tricks: 10 Advanced Tactics
By Iron Nest Wiki Team · August 12, 2026 · 10 min read
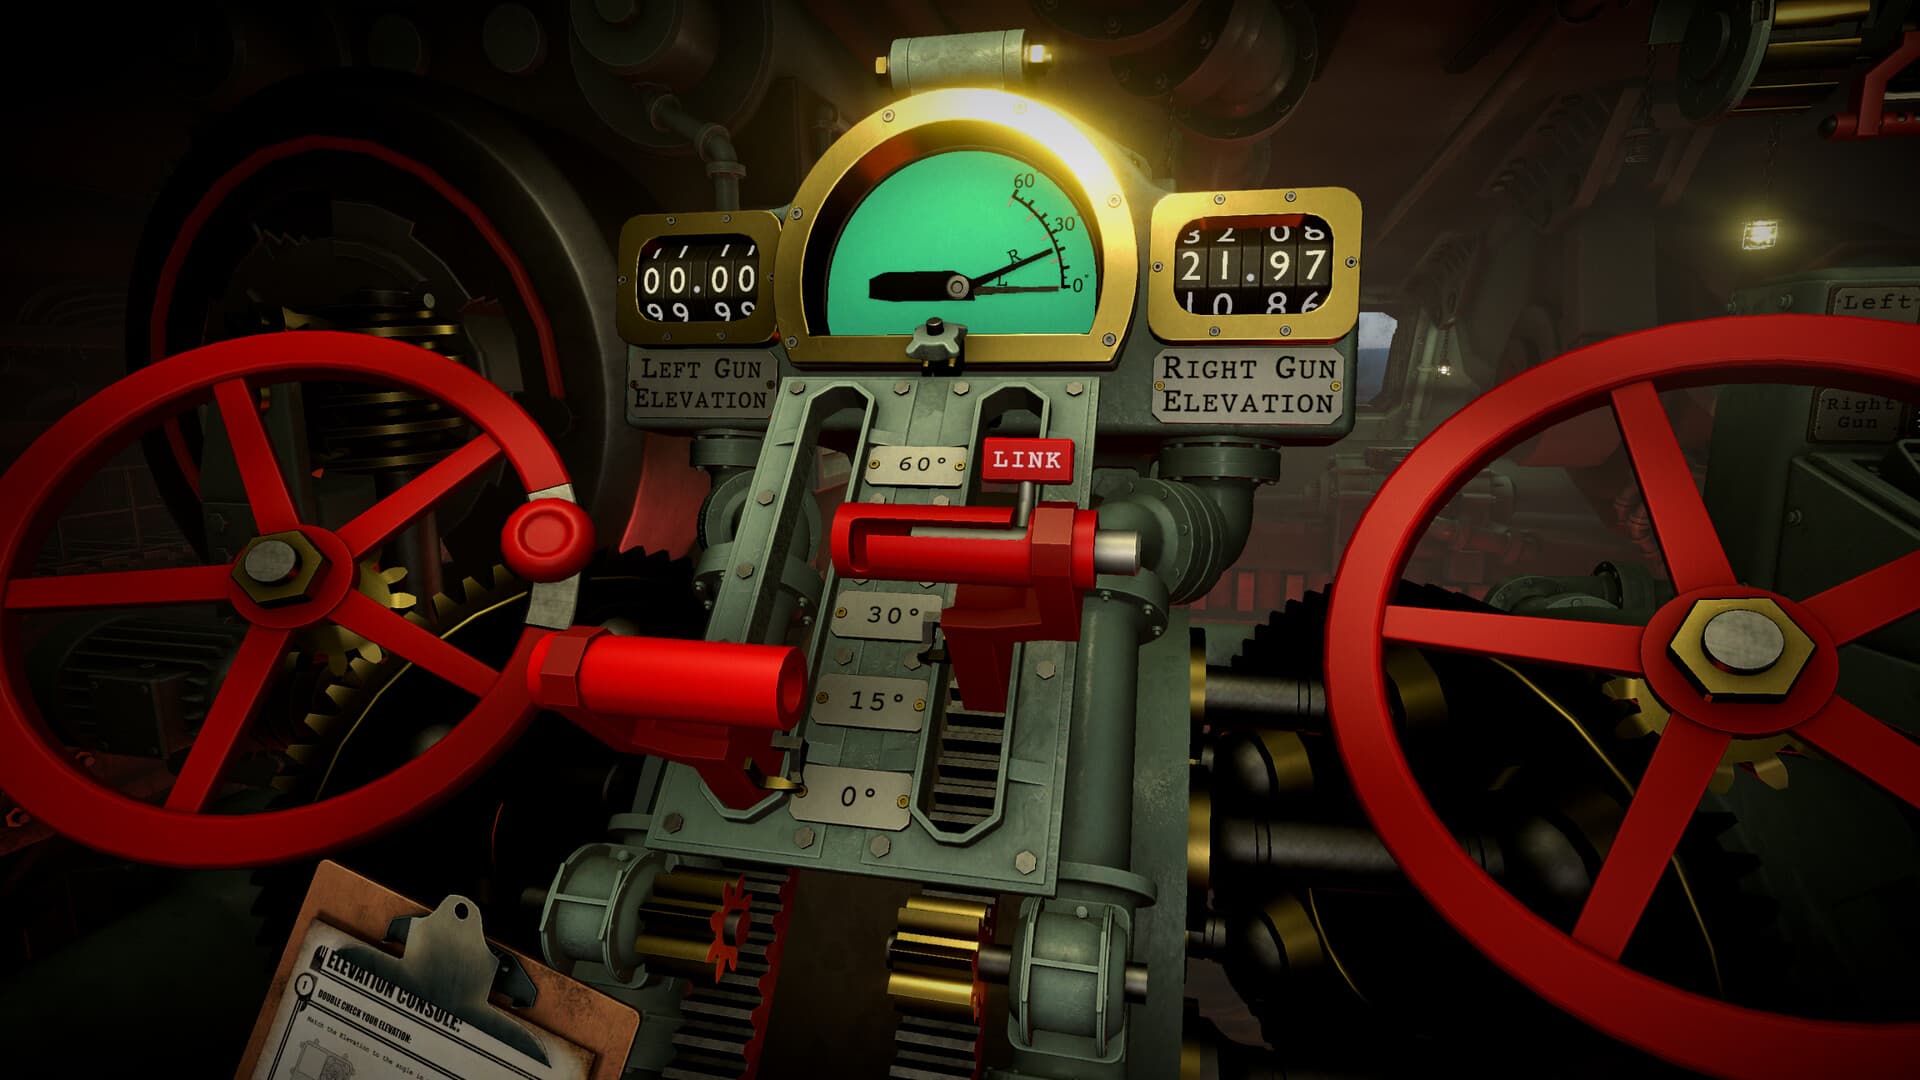
Iron Nest is a turret simulator that is quite unforgiving. It is a dieselpunk heavy-artillery game where you win by operating a massive war machine that serves as your turret. Throughout the game, you will be given instructions on what to shoot, where to shoot, and how to fire. While that may sound straightforward, it can quickly become quite challenging. These ten tips will help you stop struggling with the machine and start truly dominating the battlefield.
1. Turn loading into a ritual
Before placing any projectile into the breech, double-check the target distance, the required elevation, and the number of powder charges indicated by the ballistic calculation. The loading sequence involves selecting and ramming the projectile, dispensing the charges, and pushing everything into the gun. After that, there is no magic button to undo the process.
The biggest danger is calculating the trajectory correctly but messing up at the moment of loading. Perhaps you changed the target, realized the distance was different, or simply typed the wrong value into the ballistic calculator. If the projectile has already been rammed, the only way to remove it is by firing. Dispensed powder charges cannot be returned to the loader either.
One second of attention saves an entire lost mission. Calculate calmly, confirm everything, and only ram the projectile when you are sure it is ready to fulfill the mission.
2. Master the dual-gun rhythm
The dual cannon is not just extra firepower. It is a tool of rhythm and survival. Fire with one barrel, rotate the turret immediately, and leave the second one ready to respond to another target before counter-battery fire has time to punish your position.
Do not load both barrels with the same ammunition by default. Leave one AP prepared for bunkers, underground positions, or fire direction centers, while the other receives HCHE for target groupings or less protected positions. This allows you to react without interrupting the entire reload cycle. The first cannon fires, you start rotating the turret, check the azimuth and elevation of the second, and fire without standing still reorganizing ammo or redoing calculations under pressure.
Before firing, confirm whether the ammo type really matches the target. HCHE does not replace AP against underground or armored positions. Also observe the flight time of the projectiles. An impact can alter the state of the counter-battery timer before the second shot arrives.
3. Abuse area effect when targets cluster
Perfectionism is sometimes the enemy of efficiency. When multiple targets are grouped in the same corridor or row, stop trying to make a surgical shot on each of them. The secret lies in abusing the massive destruction radius these munitions offer, especially HCHE.
Unlike standard HE, which requires more care, HCHE has an area of effect so generous that the central impact does not even need to be exact. What matters is that the explosion covers the space where the group is concentrated. Aim a little further ahead or between the targets, knowing that the shockwave will clear the entire row without you needing to frantically readjust the turret.
No one will question if the center of the explosion hit the target perfectly if there is no one left standing at the end of the row.
4. Match the shell to the tactical problem
Each projectile was designed for a specific tactical situation. Understanding this separates an average shooter from a true artillery master.
- AP is your surgical tool for extreme situations. It pierces underground bunkers and heavily armored targets where a normal explosion would just scratch the surface. It is also the mandatory choice when allies are operating very close to the target, as it generates almost no fragmentation.
- HE is your workhorse. General-purpose ammunition for most surface target encounters. It offers a solid balance between damage and area of effect, perfect for demolishing exposed structures and medium groups of enemies.
- HCHE is your answer for when the battlefield fills with infantry spread out or gathered in clusters. It has the largest area of effect in the game, ideal for sweeping large distances and catching multiple targets at once.
The common mistake is using HCHE on hardened targets or bunkers where it loses efficiency. Save this ammunition for when you need to clear terrain quickly and turn infantry waves into smoking craters.
5. Use the right pencil for the right step
The difference between the red and yellow pencils is not aesthetic. It is functional, and knowing when to use each will save you time, prevent typing errors, and keep your clipboard clean.
- Red pencil — Your official working tool. Use when you are sure of the target and need to execute the shot. It draws the measurement line and automatically copies the azimuth and distance to your clipboard. Perfect for sending firing data to the turret.
- Yellow pencil — Your scratch pad. Use during the thinking and triangulation process without compromising your current data. It measures distance and angle but does not copy anything to the clipboard. Ideal for testing intersections and understanding terrain.
Use yellow to explore, test, and triangulate without worrying about copying data. When you are sure of the target, switch to red and let it capture the bearing and range automatically. This small mindset shift transforms you into an operator who not only shoots well but thinks like true artillery.
6. Turn star shell misses into corrections
When a star shell lands, the game reveals two small yellow arrows pointing in different directions, accompanied by the missed distance. Instead of treating this as a simple visual indication, think of the flash as the new reference point to find the true position of the target.
Observe the exact center of the illuminating explosion and identify the direction indicated by the space between the two arrows. Then grab the map pencil and draw a line starting from that center, following that direction for the number of units shown below the flare. This tells you where the target actually is relative to where your shot landed.
Make this correction calmly. It is very easy to look at just one of the arrows and end up following the wrong direction. The arrows diverge precisely to indicate an axis, so the correct path lies right between them. A few degrees of error can leave the next shot far from the objective.
7. Treat recon planes as emergency resources
Reconnaissance planes reveal the map excellently, but each use consumes requisition points that are also needed for ammunition and powder charges. Only call for a flight when truly stuck, especially facing a priority target whose position could completely change the outcome of the mission.
If you can still estimate the sector using observers, coordinates, markings, or even a star projectile, it might be better to save the points. Also think about the plane's flight path. Sending it over an area protected by anti-air defenses turns an expensive tool into a potential waste. A perfect reconnaissance is not of much use if you later lack material to destroy the target.
8. Use smoke as a movement order
Instead of treating smoke merely as a curtain to block enemy vision, use it as an indirect command tool. The point of impact guides allied forces to reposition, moving them away from the area you intend to bombard.
Fire smoke near the allies but not necessarily on the enemy target. Observe their movement. Once the infantry is out of the danger zone, carry out the bombardment. This is a much safer way to create a separation line between your troops and the enemy, reducing the risk of turning an efficient attack into a friendly-fire tragedy.
The most important detail is to think of smoke as a movement order, not as protection for the artillery itself. If you simply launch SMK at the enemy position expecting it to hide the battlefield, you may not get the desired repositioning from your allies.
9. Manage FDCs as strategic resources
In challenge mode, destroying an enemy FDC temporarily interrupts counter-battery fire, working almost like a pause button. However, there are only three per mission. Spending all of them right at the beginning can leave you with zero safety margin when the situation really heats up.
Wait until you gather multiple pieces of information before attacking an FDC. While enemy fire is suspended, take the opportunity to replot targets, check bearings, calculate new firing solutions, and resupply ammunition. A good strategy is to eliminate as many targets as possible before destroying the next FDC. Try to fit as many targets on the same or similar bearings as you can. The less time you spend turning the turret, the better.
Save at least one FDC for the middle of the mission when bearings start changing, targets become harder to calculate, and counter-battery pressure turns every second into a critical decision.
10. Learn from your first shot
Even with careful calculations, you may not always hit the bullseye. When that happens, do not assume you have messed up the mission. Use the result as a reference for what to do next.
If the attack falls short of the target, increase the range. If it goes beyond, reduce the range. If the shot falls to the right or left, adjust the bearing accordingly. Do not change everything at once. Even a small adjustment can make a big difference in Iron Nest.
Making mistakes is part of learning a game as complex as Iron Nest. Learn from them, make the necessary correction, and try again. The operators who dominate the battlefield are not the ones who never miss. They are the ones who turn every miss into a better next shot.
Frequently asked questions
Should I always use the ballistic calculator?
The calculator is reliable and recommended for most shots. However, experienced operators can calculate elevation manually using the formula: angle (°) = distance (km) × 12 / number of powder charges. This saves time in high-pressure situations like the betrayal ending, where the requisition station closes after the first shot.
How do I stop the turret from overshooting?
You can forcefully stop rotation or elevation while it is spinning fast by clicking on the wheel. It will stop immediately but will open the respective pressure valve, which you must tighten right back. Use this sparingly.
What is the best way to practice?
Play Calibration Fire multiple times until the six-step firing loop becomes automatic. Then replay early missions focusing on one new skill at a time: triangulation in Fire and Light, CBT management in Counter-Battery, moving targets in Iron Road.