
Iron Nest Guide: Complete Operator's Manual
By Iron Nest Wiki Team · August 12, 2026 · 12 min read
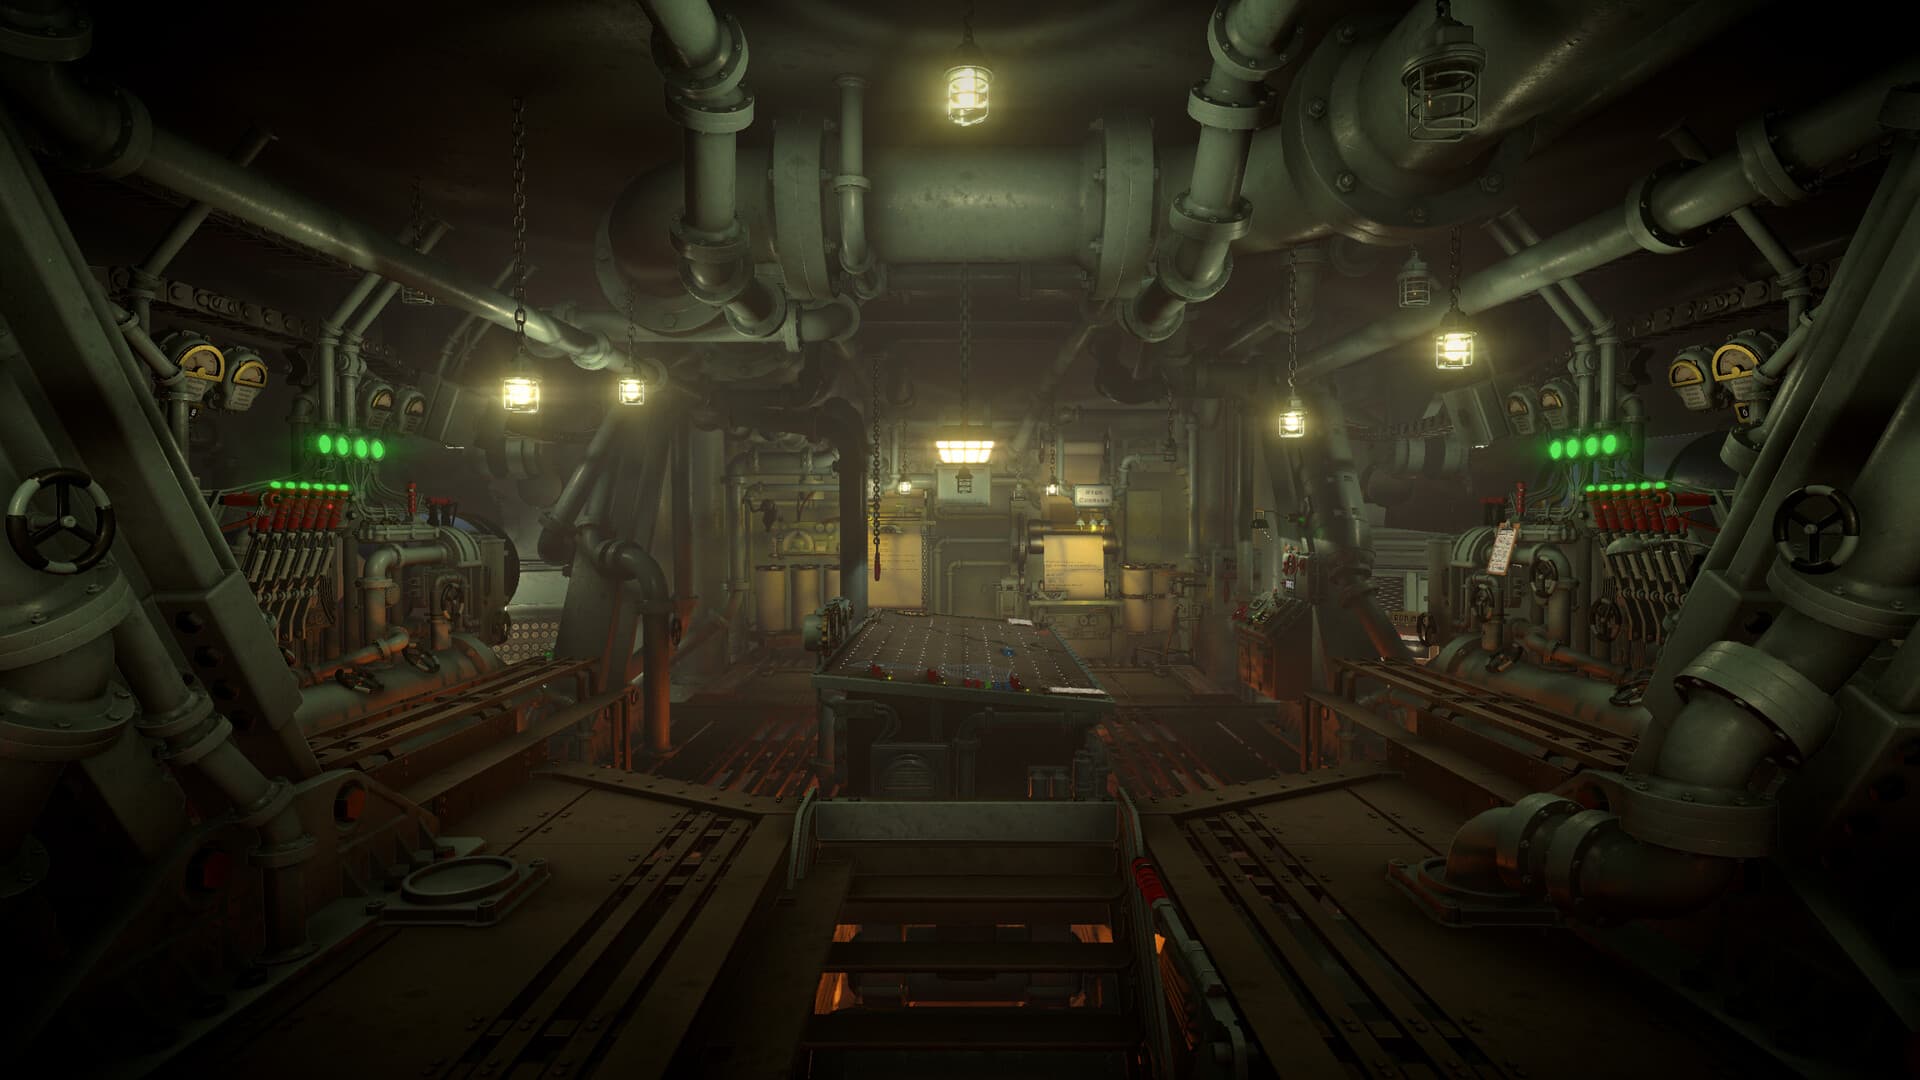
IRON NEST: Heavy Turret Simulator is a brutal dieselpunk heavy-artillery game where you dominate the battlefield through a colossal war machine. As the operator stationed inside a naval-like turret with two 800mm barrels, your job is to carry out orders from High Command: measure distances on a tactical map, calculate firing solutions, load the correct ammunition, and deliver devastating blows on every coordinated target.
This guide is the complete operator's manual. It covers everything from your first steps inside the turret to advanced battlefield tactics. Whether you are calibrating your first shot or planning a multi-target bombardment under counter-battery fire, the principles here will keep your shells on target and your machine intact.
Inside the turret: know your stations
The Iron Nest is not a single weapon. It is a room full of interconnected machinery, and every station answers one question. Before you touch a control, know where you are and what that station does.
The map table
The map table is where you will spend most of your time. It displays a 20-kilometer battlefield divided into lettered and numbered grids. Each full grid is 1000 by 1000 meters, and each grid square is further divided into sub-grids from 0,0 to 9,9, with each sub-grid representing 100 by 100 meters. This is where you plot positions, draw bearings, measure ranges, and triangulate enemy locations.
The teleprinters
Two teleprinters stand near the map table. The one circled in red receives orders from High Command. The one circled in blue receives field reports and intel from friendly spotters. Left-click any highlighted information to copy it to your clipboard for easier map marking. Read every page before loading a shell. A later paragraph can completely change what the mission is asking you to do.
The requisition station
To the left of the teleprinters is the requisition station. Here you purchase shells, powder charges, repositions, intel, and recon planes using requisition points. In challenge mode you start with only 100 points, so spend wisely. You earn more points by destroying priority targets marked with stars, each worth 10 requisition points. Points do not carry over between sessions.
The ballistic calculator
The ballistic calculator converts range and powder charge count into the gun elevation required to hit the target. Working from top to bottom, you enter the bearing, select the target icon, choose the shell type, dial in the range, and select the powder charge. A red light means you need more charges; green lights indicate acceptable amounts. Pull the calculate lever to receive a finalized target card on your clipboard.
The gun controls
The left and right magazines each hold up to six shells. After selecting ammunition at the requisition station, cycle through the rack with the hand switch, drive the shell into the barrel with the loading handle, then dispense and drive in the powder charges. The front-right turret controls handle bearing rotation, while the front-left controls handle barrel elevation. Each side has a fast lever and a slow wheel for coarse and fine adjustment.
The firing loop: six steps to every shot
Every successful shot in Iron Nest follows the same six-step loop. The missions keep changing the target problem, but the loop never changes. Master it once, and you master every mission.
- Read — Read the complete order. Identify the current Iron Nest position, target clues, shell requirement, timer trigger, support condition, and stand-down condition.
- Locate — Use coordinates, spotter bearings, distances, reconnaissance, corrections, or movement data to establish the target and firing origin on the map.
- Calculate — Draw one final line from the current Iron Nest position to the confirmed target. Record bearing, range, charges, and elevation.
- Prepare — Load the required shell and charges, rotate the turret, set elevation, and confirm the correct left or right gun is armed.
- Fire — Pull the firing cord. Wait for impact or the next report.
- Confirm — Treat every correction, movement, new target, or phase change as new information. Return to step one.
The most important stopping point is between Locate and Calculate. If you still have two believable target positions, do not buy an expensive shell and hope the blast radius solves your uncertainty. Solve the location problem first.
Map tools and how to use them
Marking tools
You have three colored pencils and a drafting compass. Select a tool by left-clicking it, then click and drag to make your mark.
- Red pencil — Provides bearing and range and copies the data to your clipboard. Use this when you are sure of the target and ready to execute the shot.
- Yellow pencil — Provides bearing and range but does NOT copy to clipboard. Use this for pre-planning, triangulation, and testing intersections without polluting your clipboard.
- White pencil — Only draws a line. No range or bearing. Use this to track spotter movement or sketch reference lines.
- Drafting compass — Creates circles and gives a range. Useful when you are given a distance from a known point but no bearing.
The iris
The iris tool on the right side of the map table determines the kill radius of various shells. Adjust it by clicking and dragging the red portion to open or close the iris. This shows you exactly how much damage each shell type can cause, helping you decide whether a near-miss will still destroy the target.
Marker icons
Click and drag markers to label your map. Use red for enemy and FDC locations, green for reference points, and blue for spotters and friendly units. Keeping your map organized prevents confusion when multiple targets and observers are in play.
Triangulation: finding hidden targets
Most targets are not given as direct coordinates. You must find them using spotter reports. This is the core puzzle of Iron Nest, and it works like real artillery observation.
When a spotter reports a bearing, draw a line from that spotter's known position along the reported bearing. When a spotter reports a distance, draw a circle around that spotter with the reported distance as the radius. The intersection of two or more lines or circles reveals the target. Remember that spotters have an error of plus or minus 0.5 kilometers and degrees, so the intersection is approximate. The only way to know a position exactly is to fire a star shell or send a recon plane over the area.
Once you have triangulated the target, mark it with a red icon. Then draw a fresh red line from the Iron Nest to that target. This final line gives you the bearing and range that go into the ballistic calculator. Never use a spotter bearing directly as your turret bearing. The spotter bearing locates the target. The turret bearing fires at it. They are different measurements from different origins.
Shell types and their battlefield roles
Iron Nest includes multiple ammunition types, each designed for a specific tactical situation. Using the wrong shell can ruin an otherwise perfect shot.
- AP (Armor Piercing) — A solid steel slug with no explosive filler. Used for underground targets, armored positions, and situations where friendlies are too close for HE. Blast radius: 0.14 km.
- HE (High Explosive) — Standard burst shell for surface targets, infantry, and artillery batteries. Good balance of damage and area. Blast radius: 0.27 km.
- HCHE (High Capacity High Explosive) — Massive blast radius for clustered enemies. Ideal when multiple targets fit safely inside the larger effect area. Blast radius: 0.63 km.
- STAR — Illumination flare that reveals a large area around the impact point. Used for reconnaissance and correction missions. Illumination radius: 12.74 km.
- SMK (Smoke) — Screening cloud that forces friendly units to reposition. Use it to move allies away from danger zones before bombardment.
- TEAR — Non-lethal irritant that exposes hidden positions. Use before a destructive follow-up.
- PHOSGENE — Toxic gas for civil riots and infantry. Does not work on armored targets.
Loading and firing: the final sequence
Once your firing card is complete, move to the loading station. Select the correct shell type from the rack, drive it into the barrel, then dispense and drive in the calculated number of powder charges. Remember: shells and powder charges cannot be unloaded. If you make a mistake, you must either fire the wrong load or recalculate with the new charge count.
While the gun loads, rotate the turret to the correct bearing. The lever moves quickly but imprecisely; the wheel is slow but accurate. Use the lever for coarse movement and the wheel for fine-tuning. Once loading is complete and the breech is sealed, elevate the barrel to the calculated angle. Again, use the lever to get close and the wheel to dial in the final value.
Before firing, run the checklist on the bottom console. Confirm your fire mission, range, shell type, bearing, and that the gun is armed. Then pull the firing cord. Watch the shell's trajectory on the ballistic arm, and wait for impact confirmation through aerial photos, frontline messages, or newspaper reports.
Challenge mode and skirmish operations
Challenge mode uses the same firing loop with less room for waste. You start with limited requisition, face a counter-battery timer, and must balance speed with accuracy. The same principles apply: locate before loading, keep firing cards organized, buy reconnaissance only when it removes useful uncertainty, and use safe multi-target effects when they genuinely save time.
The campaign remains the best preparation. Learn how to build a correct firing solution quickly, then learn when not to spend another thirty seconds perfecting one.
Frequently asked questions
Do I need real artillery knowledge to play Iron Nest?
No. The developer has stated that the game supplies tools that make most required mathematics approachable. You need to follow the game's reports, map, and instruments carefully rather than derive real-world artillery equations.
What is the most common beginner mistake?
Copying a spotter bearing directly into the turret. Spotter bearings locate the target. The turret bearing is measured from the Iron Nest to the target. They are different lines from different origins.
Can I move the Iron Nest during a mission?
Yes. The Iron Nest has four legs and can reposition using a move card from the requisition station. After moving, your position changes and all previous firing solutions become invalid. You must remeasure from the new position.
What happens if I fire at friendly units?
Friendly fire counts against your mission score and can prevent gold medal requirements. Some missions have strict ally-kill limits. Always check your target markers before firing.