
Iron Nest Missions: Campaign and Skirmish Guide
By Iron Nest Wiki Team · August 12, 2026 · 10 min read
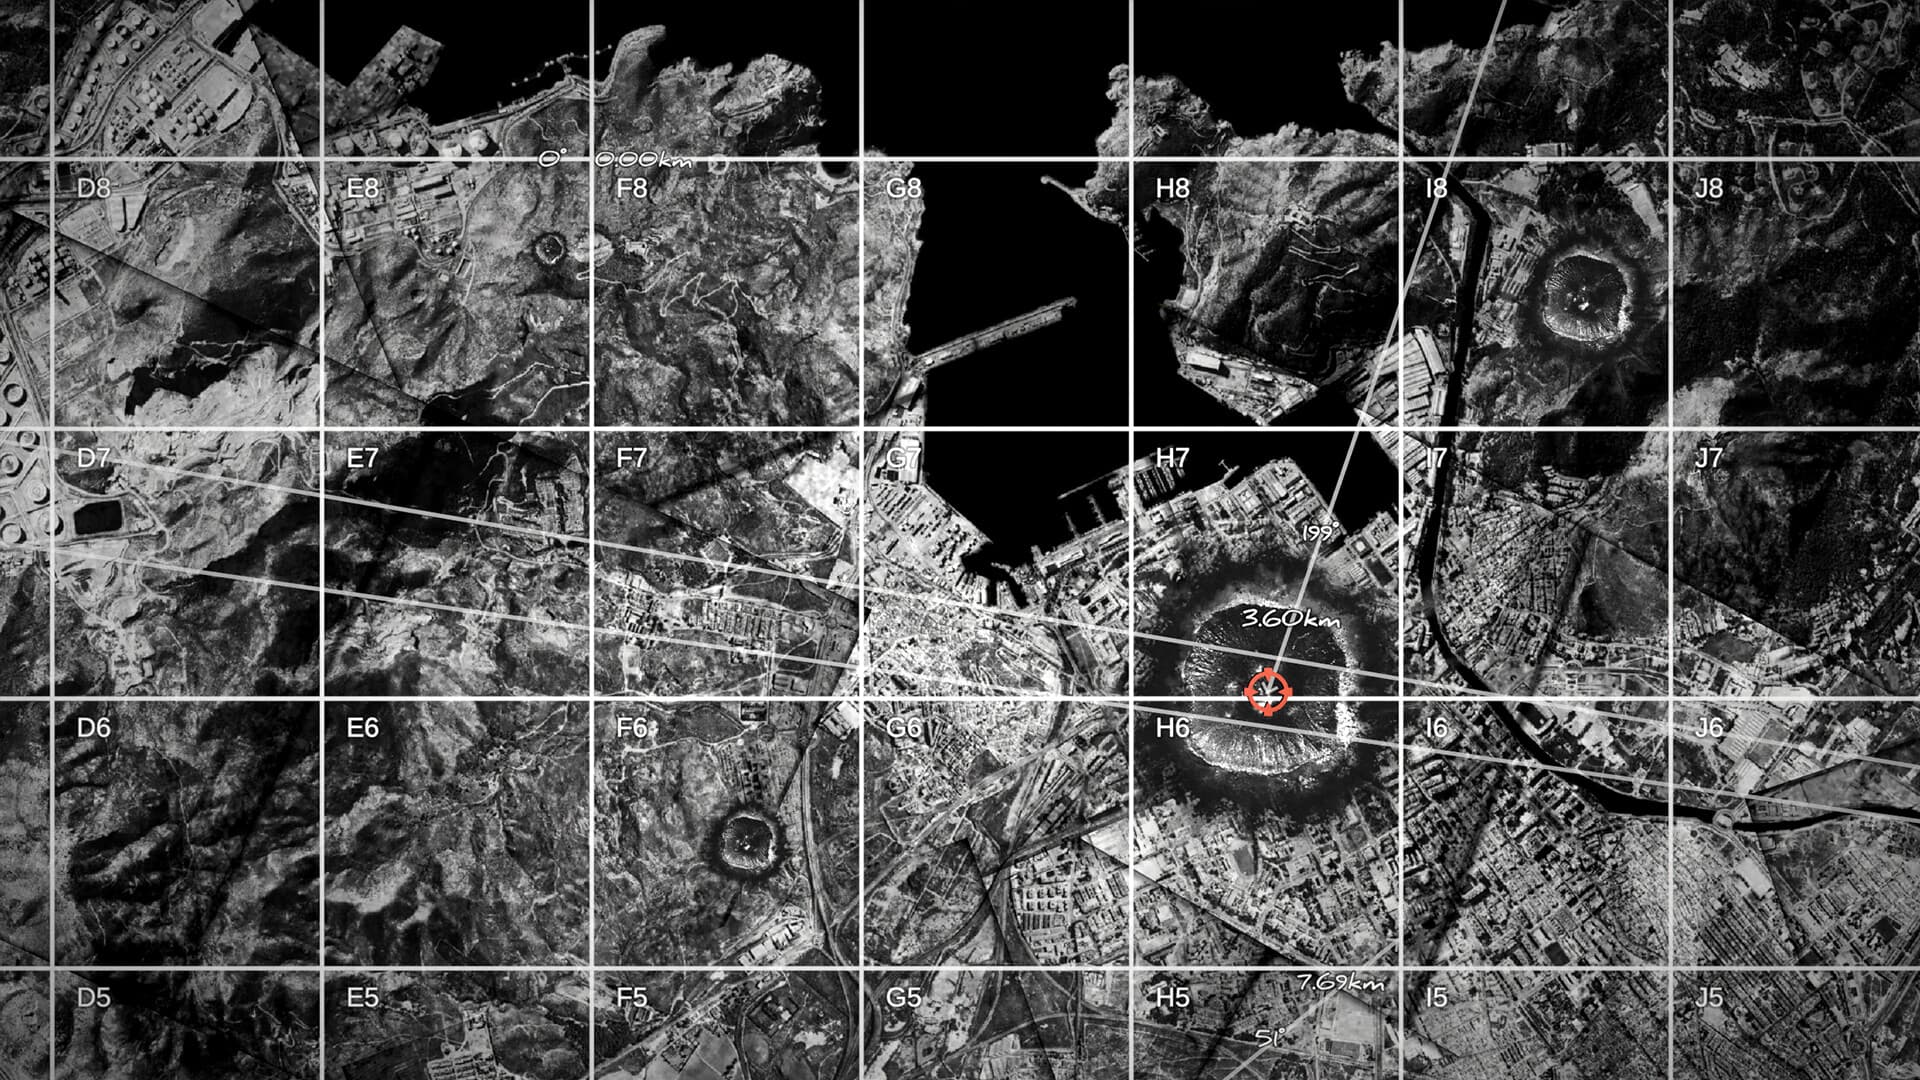
IRON NEST combines a handcrafted story campaign with objectives that can change between runs. The official store describes 15 regions, and the campaign takes you through a dieselpunk alternate history where the Spanish Civil War ignites a global conflict unlike our own. This guide lists all confirmed missions, their mechanics, and what makes each one unique.
The missions keep changing the target problem, but the solution remains the same: locate the point first, then build the firing solution second. Every mission teaches a new variation of that principle.
Campaign mission overview
The campaign is divided into early, mid, and late operations. Early missions teach core mechanics. Mid missions add complexity with timers, moving targets, and hidden positions. Late missions combine everything and introduce moral choices that determine the ending.
Early campaign: Missions 1–5
These missions introduce the fundamental systems that every operator must master.
Mission 1: Calibration Fire
The tutorial mission. High Command provides your position and the target coordinate directly. No spotters, no timers, no hidden targets. Learn the basic Iron Nest to target to bearing and range to charges and elevation to fire loop. The habit to build here is refusing to touch the gun until the firing card is internally consistent.
Mission 2: Fire and Light
Introduces spotter references and star shells. You must triangulate the opening target using bearings from two friendly observers, clear a follow-up pair, and correct a star shell illumination shot. This is where most operators learn that a spotter bearing is not a turret bearing.
Mission 3: Liberation
Adds the underground cache and friendly protection. Rebuild the firing origin, complete P4 reconnaissance, destroy an underground AP cache, and protect friendly units. The underground cache becomes an AP problem once confirmed. Friendlies near the target make shell selection critical.
Mission 4: Counter-Battery
The counter-battery timer (CBT) is introduced. Hostile artillery fires back if you take too long. Pre-calculate opening batteries, manage the CBT, and locate the fresh artillery position after it moves. Enemy FDCs become pause buttons that temporarily stop the timer.
Mission 5: Iron Road
The first moving target mission. Intercept a train, destroy both AP emplacements, and time the War Horn safely. Moving targets require course projection. Extend the target's reported bearing along its course to predict where it will be when your shell arrives.
Mid campaign: Missions 6–10
These missions layer multiple mechanics together and test your ability to adapt under pressure.
Mission 6: Siege of Cartagena
Chained installations and the smoke-assisted breakout. Solve multiple connected targets, recover after an Emergency Move, and use SMK shells to reposition friendly forces before bombardment. Smoke is not just a screen. It is an indirect command tool that guides allied movement.
Mission 7: The Gorge
The Nest is damaged and must be restarted. Use manual observed-fire corrections until the pass is clear. This means firing, observing the miss, adjusting based on impact location, and firing again. Slow but effective when the calculator is unreliable.
Mission 8: Rock of Gibraltar
Locate HMS Rockingham without aerial recon, respect the 11:08 firing restriction, and optionally intercept a moving vessel. The restriction means do not fire before the specified time, even if your solution is ready. Teaches patience and precision planning.
Mission 9: Dead Reckoning
Hidden primary positions must be exposed with Tear gas before destruction. Fire TEAR first, read the target state from the result, then buy and load the correct destructive shell. Do not buy destructive ammunition for all positions before Tear reveals what they actually are.
Mission 10: Fire on Call
Live support calls change the battlefield dynamically. Answer calls as they arrive, reposition friendlies with Smoke, and handle danger-close shots where the enemy is only about 0.25 km from friendly positions. Sometimes a precise AP hit is safer than the larger HE blast that was requested.
Late campaign: Missions 11–15
These missions combine all previous mechanics and add new pressures that test mastery of the entire system.
Mission 11: High Tide
Multiple landing-craft intercepts across both guns. Hold the defensive line until relief arrives at 07:14. The mission feeds constant movement reports, so your bottleneck is keeping two-gun solutions organized, not finding targets. Prefer one live solution per gun.
Mission 12: Blind Fire
Locate four AA batteries through Alpha and Bravo reference points without reconnaissance or shell-impact imagery. Pure triangulation under pressure. Chained reference points mean each located target becomes the origin for the next bearing.
Mission 13: Phantom Battery
Recover your own position after an Emergency Move, locate a mobile battery, and use enemy spotters for 90-second CBT extensions. After moving, one Position Report can leave Iron Nest somewhere along an entire line. Pay for the second report if your next shot depends on exact origin.
Mission 14: Final Harvest
Pre-plan the moving train and static targets, then balance counter-battery pressure with live support calls. Some longer solutions use three or four powder charges. Replenish powder before a priority gun is loaded and waiting for a charge you no longer have.
Mission 15: White Shells
The final mission changes the question entirely. You are no longer trying to find one correct military target. You are deciding what Iron Nest does with the final order. There are four confirmed endings, each triggered by what you fire into Barcelona.
- A City in Celebration — Fire a non-lethal shell (STAR, SMK, or PRPG) into the city. Peace through restraint.
- A City Subdued — Fire a chemical shell (TEAR, PHGN, WP, or CYAN) into the city. Submission through fear.
- A City Silent — Fire a destructive shell (HE, AP, HCHE, or ATMC) into the city. Annihilation.
- The Road Not Taken — Turn against High Command. Recon allied positions, mark retaliation targets, calculate shots, buy shells and powder, then attack command and execute the prepared sequence. This is a real combat sequence after betrayal.
For the betrayal route, buy everything before firing the first shot. The requisition station closes after you are labeled a traitor. The ATMC shell has an approximately 3 km radius and can eliminate most units around High Command in a single shot. Prioritize artillery and spotting units to extend the counter-battery timer.
Skirmish modes
Beyond the campaign, Iron Nest offers skirmish modes that test your skills under different constraints. The developer roadmap promises more skirmish modes in post-launch updates.
Challenge — Counter Battery Timer
A timed survival mode where you face endless waves of targets and a persistent counter-battery timer. You start with limited requisition and must balance speed with accuracy. The same firing discipline applies: locate before loading, keep firing cards organized, and buy reconnaissance only when it removes useful uncertainty.
Medal requirements include kills-per-shot ratio, consecutive kill streaks, and fast first shots. The pressure is constant and there is no stand-down order. You are going to die. The question is how many you take with you.
Chill — Uncontested Front
A lower-pressure mode for practice and experimentation. No counter-battery timer. You have time to perfect your triangulation, test different shell combinations, and learn the map without the threat of incoming fire.
Uniquely, the Chill skirmish wants you to spend more requisition, not less. The gold medal for requisition spent requires 600 or more points used. This encourages experimentation with expensive shells, recon planes, and multiple repositioning moves.
Mission mechanics reference
Counter-Battery Timer (CBT)
Present in missions 4, 11, 13, 14, and Challenge mode. A countdown timer that represents how long until hostile artillery locates and fires back at you. Destroying an enemy FDC pauses the timer. The timer resumes when you fire again. Managing the CBT is about balancing target destruction with FDC elimination to create safety windows.
Emergency Move
Certain missions allow or force you to reposition the Iron Nest. After moving, your map position changes and all previous firing solutions become invalid. You must remeasure from the new position. Some missions provide Position Reports after movement to help you locate your new coordinates.
Spotter reports
Most missions provide target information through friendly observers rather than direct coordinates. Spotters report bearings and distances with an error of plus or minus 0.5 kilometers and degrees. Use multiple spotters to triangulate. Never trust a single report as exact.
Moving targets
Trains and vessels report their course and speed. To intercept them, project their position forward along the course line to where they will be at shell impact time. The formula is simple: extend the bearing from the current position along the reported course, then measure from Iron Nest to that projected point.
Hidden positions
Some targets are not visible on the map until revealed. Use STAR shells for illumination, TEAR gas to expose hidden infantry, or recon planes for direct observation. Each method has different costs and risks. Choose based on the mission constraints and your available requisition.
Frequently asked questions
How many missions are in the campaign?
The official store describes 15 regions, and 15 confirmed mission names have been documented from full-release footage. The developer roadmap promises additional missions and skirmish modes in post-launch updates.
Can I replay missions?
Yes. Missions can be replayed to optimize medal performance, try different strategies, or experiment with shells unlocked in later missions. The DRIL shell, unlocked after Siege of Cartagena, makes early mission gold medals much easier to achieve.
What is the best mission to practice on?
Calibration Fire is the best for learning the firing loop. Fire and Light is best for practicing triangulation. Counter-Battery is best for learning CBT management. Replay these three until the mechanics are automatic before tackling later missions.
Are there difficulty settings?
The campaign missions have fixed difficulty. Skirmish modes offer different challenge levels. Challenge mode is the hardest test of your skills. Chill mode is for practice and experimentation.