
IRON NEST Key Guide
By Iron Nest Wiki Team · August 12, 2026 · Updated August 12, 2026 · 8 min read
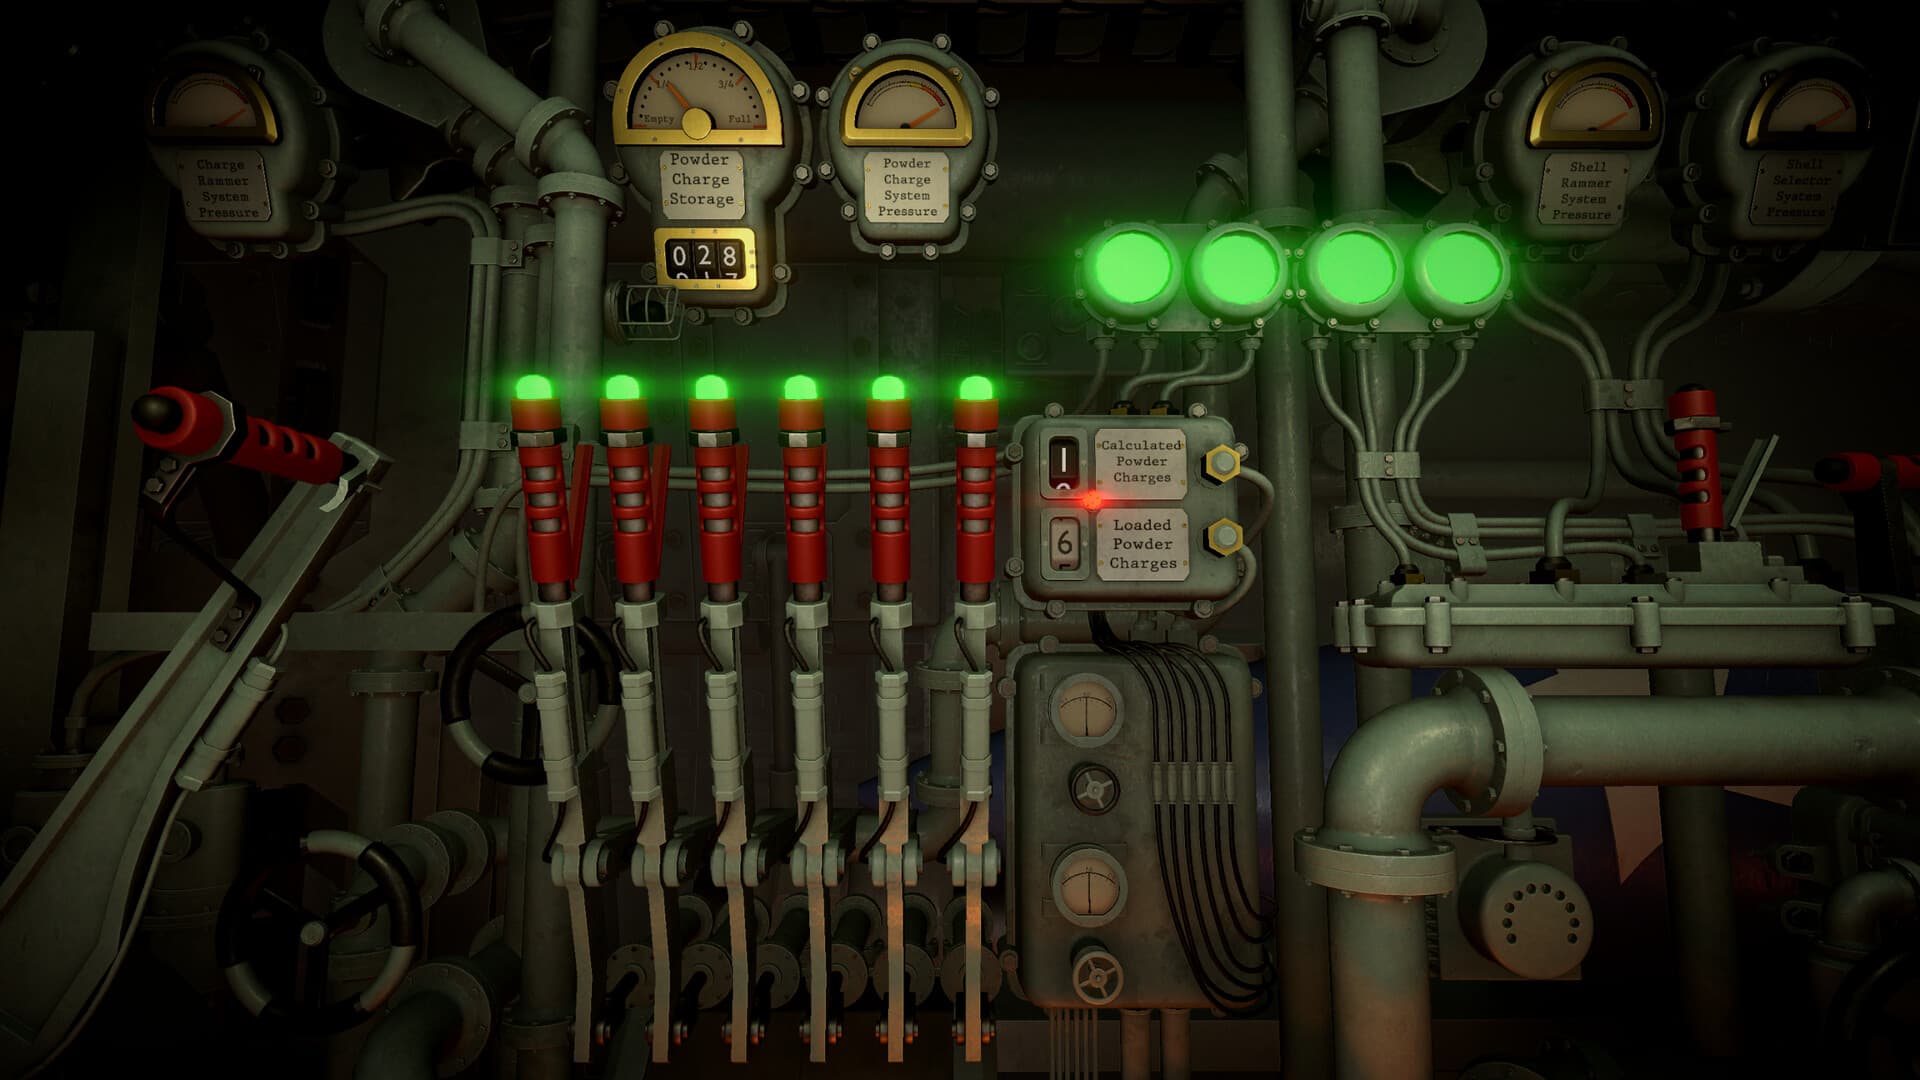
IRON NEST: Heavy Turret Simulator is a game built around physical interaction with a massive dieselpunk artillery turret. Every lever, every dial, and every shot is under your control. Understanding the controls, keybindings, and keyboard shortcuts is essential for efficient operation under pressure — especially when the counter-battery timer is counting down and enemy shells are incoming.
This guide covers the default controls for every station in the Iron Nest, from the map table and teleprinters to the gun loading bays and firing controls. Master these controls, and the machine becomes an extension of your will. Fumble them, and Barcelona may survive while you do not.
Movement and interaction basics
IRON NEST is a first-person station-based simulator. You move between stations within the turret and interact with controls using the mouse and keyboard.
| Action | Key / Control | Description |
|---|---|---|
| Move | W, A, S, D | Walk around the interior of the turret between stations |
| Look | Mouse | Look around and aim your cursor at interactive elements |
| Interact / Use | Left Click | Grab levers, click buttons, select tools, stamp cards |
| Release / Drop | Right Click or release Left Click | Let go of held objects and levers |
| Crouch | Ctrl | Crouch to access lower controls or viewports |
| Sprint | Shift | Move faster between stations when time is critical |
Map table controls
The map table is where you will spend most of your time. It is the nerve center of your operations, where intelligence becomes firing solutions.
| Action | Control | Description |
|---|---|---|
| Select red pencil | Click on red pencil | Draws bearing and range lines from the Iron Nest. Copies data to clipboard. |
| Select yellow pencil | Click on yellow pencil | Draws bearing and range lines without copying to clipboard. For pre-planning. |
| Select white pencil | Click on white pencil | Draws plain lines only. No range or bearing data. For tracking spotters or drawing shapes. |
| Select drafting compass | Click on compass | Creates circles and gives range from a center point. |
| Draw line | Click and drag | Draw lines on the map with the selected tool. |
| Place marker | Click and drag marker icons | Red for enemy/FDC, green for reference points, blue for spotters/friendlies. |
| Use iris tool | Click and drag red portion | Adjust to show kill/splash radius of various shells. |
| Copy teleprinter text | Left click on highlighted text | Copy information to clipboard for easier map marking. |
Critical tip: When drawing lines from the Iron Nest, always draw from the spike at the bottom of the model. Marking from anywhere else will cause your firing solutions to be inaccurate and you will probably miss.
Ballistic calculator controls
The ballistic calculator translates your map measurements into gun settings. Working from top to bottom:
| Action | Control | Description |
|---|---|---|
| Set bearing | Rotate top dial / wheel | Enter the bearing from your clipboard (red pencil measurement). |
| Select target type | Rotate target wheel | Optional. Shows target icon on the final firing card. |
| Select shell type | Rotate shell wheel | AP for underground targets, HE for surface targets. |
| Set range | Rotate range wheel | Enter distance from Iron Nest to target (from red pencil). |
| Set powder charges | Rotate charge knob | Red light = need more charges. Green = acceptable amount. |
| Calculate elevation | Pull calculate lever | Generates finalized target card placed on clipboard. |
Important: The bearing and shell type wheels are optional for player clarification and are not required for calculation. Only range and powder charges are mathematically necessary. This can save valuable seconds when under counter-battery pressure.
Gun loading and aiming controls
Once you have a firing solution, you must physically prepare the guns. The turret has two guns (left and right) that can be operated independently.
Loading station
| Action | Control | Description |
|---|---|---|
| Cycle shell magazine | Click magazine controls | Rotate through available shell types to select the correct one. |
| Load shell | Click load controls | Move selected shell into loading position. |
| Add powder charges | Click charge controls | Add the number of charges specified on your firing card. |
| Ram shell home | Click ram lever | Push loaded shell into the firing chamber. |
Warning: Shells and powder charges CANNOT BE UNLOADED. Make sure you load the correct type and amount, or you will have to rerun the ballistic calculator with the new charge amount.
Turret rotation
| Action | Control | Description |
|---|---|---|
| Fast rotation | Pull rotation lever | Moves the turret quickly but inaccurately. Good for large adjustments. |
| Precise rotation | Turn rotation wheel | Slow but accurate. Use for fine-tuning bearing. |
| Emergency stop | Click on wheel while spinning | Forcefully stops rotation/elevation. Opens pressure valve — tighten it back immediately. |
Gun elevation
| Action | Control | Description |
|---|---|---|
| Fast elevation | Pull elevation lever | Quick but less precise elevation changes. |
| Precise elevation | Turn elevation wheel | Slow but accurate. Use for final dialing. |
| Independent gun elevation | Use separate elevation controls | Each gun can be elevated differently for two targets on the same bearing. |
Pro tip: Turn the turret to the correct bearing while the gun is still loading. You cannot elevate the guns until the breech is fully sealed and locked, so use that time for rotation.
Firing controls
| Action | Control | Description |
|---|---|---|
| Arm gun | Pull arming levers | Left and right arming levers must be pulled to enable firing. |
| Fire | Pull firing cord / trigger | Let thousands of tons of machinery answer your call. |
| Fire left gun only | Arm left, fire | Fire only the left gun for ammunition conservation or staggered shots. |
| Fire right gun only | Arm right, fire | Fire only the right gun. |
Requisition station controls
The requisition station is where you purchase shells, powder charges, reconnaissance planes, and repositioning orders using requisition points earned by destroying priority targets.
| Action | Control | Description |
|---|---|---|
| Select item | Click on item in catalog | Choose shells, charges, planes, or repositioning. |
| Confirm purchase | Click purchase button / stamp | Spend requisition points to add items to inventory. |
| Order recon plane | Place card in stamper, enter coordinates and bearing | Plane flies the specified path, revealing map and targets. |
Teleprinter controls
Two teleprinters provide mission-critical information. The left teleprinter (circled in blue) relays intel from spotters. The right teleprinter (circled in red) carries top-priority directives from High Command.
| Action | Control | Description |
|---|---|---|
| Copy text to clipboard | Left click on highlighted text | Copy coordinates, bearings, or orders for map marking. |
| Read new messages | Wait for teleprinter to finish typing | Messages print in real-time. Do not miss critical updates. |
Quick reference: powder charge to range
Each powder charge adds 5 km of maximum range. The relationship between charges, max range, and elevation multiplier is:
| Charges | Max Range | Elevation Multiplier | Example (12 km target) |
|---|---|---|---|
| 1 | 5 km | × 12 | Out of range |
| 2 | 10 km | × 6 | 72° |
| 3 | 15 km | × 4 | 48° |
| 4 | 20 km | × 3 | 36° |
| 5 | 25 km | × 2.4 | 28.8° |
| 6 | 30 km | × 2 | 24° |
Formula: Elevation = (Target Distance / Max Range) × 60°
Using these multipliers allows you to quickly calculate elevation mentally and fire without the calculator when under time pressure.
Controller support
IRON NEST supports full controller input including Xbox and PlayStation controllers. The game is designed primarily for mouse and keyboard given the precision required for map marking and dial manipulation, but controller support is available for players who prefer it. Steam Deck compatibility was listed as “Unknown” at the demo release.
Mod-added controls
Some popular mods add additional keyboard shortcuts:
- F5 — IronNestBearingControl: Show/hide azimuth input panel (mod by EightySixFan)
- F8 — Artillery Speed: Set speed multiplier for turret rotation, elevation, and reloading (mod by N3M0T8000)
- F9 — Fire Control System - Smart: Replan fire mission (mod by hysonMod)
Frequently asked questions
Can I rebind keys?
IRON NEST does not currently offer extensive key rebinding through the in-game menu. Controls are largely tied to the physical interaction model of the game. Check the options menu for any available customization.
What is the most important control to master?
The map table’s red pencil. Accurate measurement from the Iron Nest to the target is the foundation of every successful shot. A small measurement error at the map table translates to a miss by kilometers at the target.
How do I work faster under pressure?
Pre-calculate multiple firing solutions before firing your first shot. Queue cards on the map table. Use the mental elevation multipliers to bypass the calculator for emergency shots. And most importantly: stay calm. Panic causes more misses than any enemy artillery.
Can both guns fire at different targets?
Yes. The two elevation controls allow each gun to be set to a different elevation while sharing the same bearing. This lets you fire at two different targets on the same azimuth, which is invaluable when facing multiple threats.