
How to Calculate Elevation Without the Calculator
By Iron Nest Wiki Team · August 2026 · 8 min read
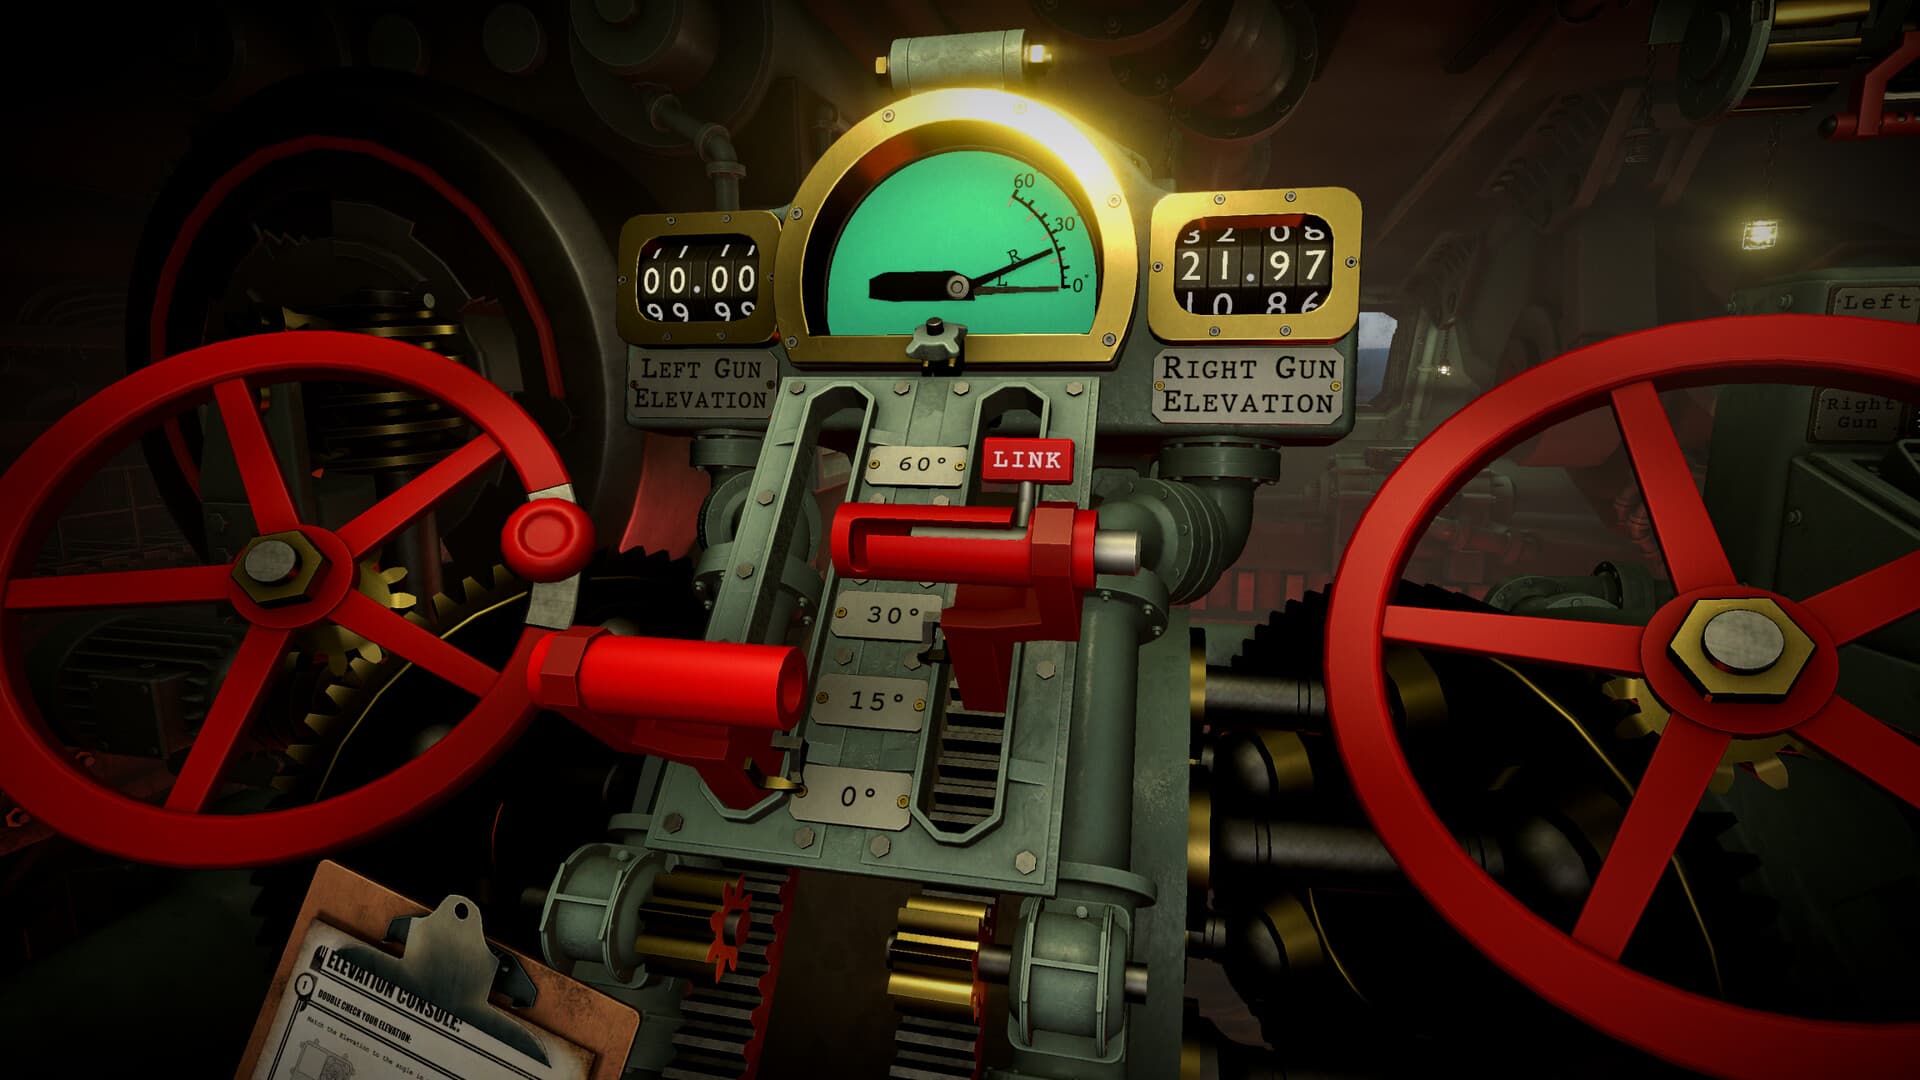
In IRON NEST: Heavy Turret Simulator, the ballistic calculator is your primary tool for determining gun elevation. But what happens when the calculator is offline? Mission 7 — The Gorge — disables the ballistic computer entirely, forcing you to calculate elevation manually. Even when the calculator is available, experienced operators often compute elevation mentally to increase their rate of fire and operate the turret more efficiently.
This tutorial teaches you the simple formula that powers the calculator, how to apply it in the heat of combat, and strategies for maintaining accuracy when you cannot rely on the mechanical computer. Mastering manual calculation is one of the highest-skill techniques in the game and separates veteran gun crews from beginners.
The Elevation Formula
The community has derived the exact formula the game uses for elevation calculation. It is remarkably simple:
Elevation = Distance × 0.012 / Number of Charges
Where:
- Distance is the range from Iron Nest to the target, measured in meters
- Number of Charges is the powder charge count (1 through 6)
- Elevation is the gun angle in degrees
An alternative way to express this, which some operators find more intuitive:
Elevation = Distance / (Charges / 0.012) or Elevation = (Distance × 12) / (Charges × 1000)
The key insight is that each charge adds a fixed amount of range capacity, and the elevation scales linearly with distance while scaling inversely with charge count.
Maximum Range by Charge Count
Before calculating, you need to know how many charges your shot requires. The maximum range per charge follows a simple pattern:
- 1 charge: Maximum 5 km range
- 2 charges: Maximum 10 km range
- 3 charges: Maximum 15 km range
- 4 charges: Maximum 20 km range
- 5 charges: Maximum 25 km range
- 6 charges: Maximum 30 km range
If your target is 7.98 km away, you need at least 2 charges (since 1 charge only reaches 5 km). If your target is 18.59 km away, you need at least 4 charges (since 3 charges only reach 15 km). The maximum elevation is 60° — if your calculated elevation exceeds 60°, you need more charges.
Step-by-Step Calculation Example
Let's walk through a typical scenario. Your target is 7,980 meters away, and you have loaded 2 powder charges.
- Verify charge sufficiency: 2 charges reach 10 km maximum. 7.98 km is within range. ✓
- Multiply distance by 0.012: 7,980 × 0.012 = 95.76
- Divide by charge count: 95.76 / 2 = 47.88°
- Check against maximum: 47.88° is less than 60°. ✓
- Set elevation to 47.88° and fire
This matches exactly what the ballistic calculator would output for the same inputs.
Another Example: Long-Range Shot
Target distance: 18,590 meters. You need at least 4 charges (3 charges max at 15 km is insufficient).
- Verify charge sufficiency: 4 charges reach 20 km maximum. 18.59 km is within range. ✓
- Multiply distance by 0.012: 18,590 × 0.012 = 223.08
- Divide by charge count: 223.08 / 4 = 55.77°
- Check against maximum: 55.77° is less than 60°. ✓
- Set elevation to 55.77° and fire
For an extreme cross-map shot of 22.24 km, you would need 5 charges (20 km is insufficient):
- 22,240 × 0.012 = 266.88
- 266.88 / 5 = 53.38°
Even firing from one end of the map to the other only requires 5 charges, leaving 6 charges as reserve for the most extreme ranges.
Quick Reference: Degrees per Kilometer
For faster mental math, memorize the degrees per kilometer for each charge level:
- 1 charge: 12° per km (1 km = 12°, 2 km = 24°, 3 km = 36°, etc.)
- 2 charges: 6° per km (1 km = 6°, 2 km = 12°, 3 km = 18°, etc.)
- 3 charges: 4° per km (1 km = 4°, 2 km = 8°, 3 km = 12°, etc.)
- 4 charges: 3° per km (1 km = 3°, 2 km = 6°, 3 km = 9°, etc.)
- 5 charges: 2.4° per km (1 km = 2.4°, 2 km = 4.8°, etc.)
- 6 charges: 2° per km (1 km = 2°, 2 km = 4°, 3 km = 6°, etc.)
For example, with 3 charges at 8 km: 8 × 4° = 32° elevation. With 2 charges at 5.5 km: 5.5 × 6° = 33° elevation.
Alternative Formulation
Some operators prefer to think in terms of the relationship between maximum range and elevation:
Elevation = (Distance / Maximum Range) × 60°
Where Maximum Range = Charges × 5 km. For example, with 2 charges at 7.98 km:
- Maximum range = 2 × 5 = 10 km
- Elevation = (7.98 / 10) × 60 = 0.798 × 60 = 47.88°
This formulation is mathematically equivalent and may be more intuitive for some operators.
When to Calculate Manually
Manual calculation becomes essential or advantageous in several scenarios:
- The Gorge mission: The calculator is explicitly disabled. Manual calculation is mandatory.
- Speed runs: Skipping the calculator interface saves 5-10 seconds per shot.
- Volley fire: When firing multiple shells at different targets, mental math keeps you at the gun controls.
- Calculator verification: Double-checking the machine's output prevents errors from stale inputs.
- Low-requisition scenarios: Faster firing means fewer shells wasted on missed shots.
The Gorge: Calculator-Free Operation
Mission 7 — The Gorge — removes the ballistic computer entirely. This is the developer's deliberate test of your manual calculation skills. The mission requires you to:
- Measure distance to targets using the map and red pencil
- Determine required charges based on distance
- Calculate elevation using the formula
- Set bearing and elevation manually on the gun controls
- Fire and observe impact
The Gorge also introduces observed-fire corrections: if your first shot misses, adjust elevation up or down based on whether the shell fell short or long, and left or right based on bearing error. This is how real artillery operators adjusted fire before electronic computers existed.
Tips for Accurate Mental Calculation
- Round strategically: For quick estimates, round distance to the nearest 100 meters and adjust slightly up or down.
- Memorize key values: Know that 10 km at 2 charges = 60°, 10 km at 3 charges = 40°, 10 km at 4 charges = 30°.
- Use the 60° anchor: At maximum range for any charge level, elevation is exactly 60°. Work backwards from there.
- Practice with the calculator: Verify your mental math against the calculator during calm moments to build confidence.
- Write it down: Keep a notepad with pre-calculated values for common ranges in your mission sector.
Why the Game Uses Simplified Ballistics
The developer has explained that the game intentionally uses a simplified linear model rather than real projectile physics. Early development referenced the Paris gun (maximum elevation 58°, rounded to 60°), and the entire system was built around that number. While real-world ballistics for 800mm shells would place optimal elevation near 45°, the simplified model makes the game more approachable and allows skilled players to calculate mentally — increasing the skill ceiling and rate of fire for experienced operators.
The developer also noted that for shells the size of the Schwerer Gustav and the Iron Nest, atmospheric drag is minimal because cross-sectional area increases at only one-eighth the rate that mass increases. So while the game's physics are not realistic, the simplification is “close enough” for gameplay purposes and makes the game more fun by rewarding mental math skills.
Frequently Asked Questions
Is manual calculation always 100% accurate?
Yes, if you use the exact distance and the formula correctly. The game's math is deterministic. However, measurement errors on the map (reading the wrong coordinate, imprecise clicking) will produce wrong elevations even with perfect math.
What if my elevation is slightly off?
HE shells have a blast radius of 250 meters, so small elevation errors (1-2°) may still produce hits against soft targets. AP shells require more precision, especially against armored or fortified targets. When in doubt, verify with the calculator.
Can I use this formula for all shell types?
The elevation formula is the same for all shell types. Shell type affects damage, penetration, and blast radius — not the trajectory calculation. However, always verify you have the correct shell loaded before firing.
What happens if I exceed 60° elevation?
60° is the hard maximum. If your calculation produces more than 60°, you need more charges. For example, 8 km at 1 charge would calculate to 96° — impossible. You need at least 2 charges (8 km at 2 charges = 48°).
Should I always use the maximum charges?
No. More charges mean higher elevation, which increases shell flight time. In some situations, fewer charges with lower elevation may be tactically advantageous (faster impact, less time for targets to move). Choose charges based on the range and tactical situation.